How to Make LEGO Chocolate!
If you’re anything like me , you are addicted to making everything LEGO related , so why not chocolate!?!? Before I show you the delicious wonder you can make , I might as well show you how to make it! Here are the supplies needed:
1. LEGO Minifigure or Brick Ice Cube Tray
2. Scissors
3. Chocolate (& Peanut butter) Chips
4. Plastic Ziploc Bag
5. A Microwave or other Melting Device
6. A Freezer
7. Cleaning Supplies

After you gather those up , follow these steps:
Take the plastic Ziploc bag and fill it about 1/3 full of chocolate chips or small chunks of chocolate then seal it. Next , put it in the microwave until the chocolate is good and runny.

Cut a small hole (about 1/3 the size of the one in the picture) into the bag and use it like a cake-froster to fill the minifigure molds one-by-one. If you have excess chocolate in the molds , use a butter knife to remove it and put it back into the bag.
HINT: Use peanut butter chips to get Reese Minifigs!
Last , but certainly not least , put it in the fridge of freezer for around a half hour (time varies depending on the fridge/freezer’s temperature ; also the freezer works best).Now you can enjoy your chocolate LEGO Minifigs!
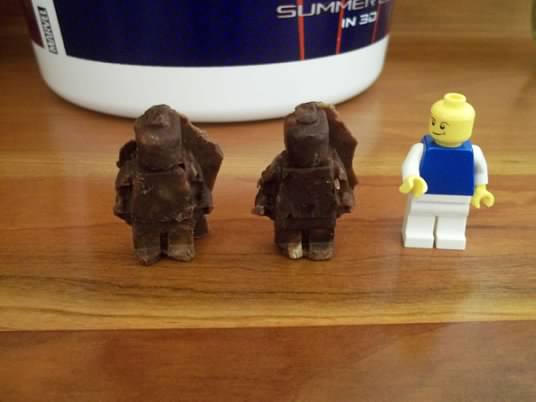
These did great at a church party I took them too , but some were confused at the sight of them . They ones I kept for myself got a bit melted before I could take a good picture , so they are more like chocolate LEGO Zombies now! This is a very messy process and gooey process , so be ready to clean! They are worth whatever harm they cause to innocent napkins (or over-eaters!).
That’s todays delicious post! Please comment , GOD BLESS!
Posted on 2013/05/03, in LEGO. Bookmark the permalink. Leave a comment.

Leave a comment
Comments 0